Soil Analysis

Novice gardeners through to experienced farmers will benefit from this analysis as it provides the data and details needed to improve soil health.
Our quantitative soil analysis report includes the following:
- Bacterial count (including actinobacteria and total bacteria)
- Fungal count (beneficial fungi)
- Oomycete count (disease-causing fungi-like organisms)
- Nematode count & classification
- Protozoa count (including both flagellates & ciliates)
This service includes a custom report with interpretation with our Soil Food Web lab technician.
You Will Need:
- An apple corer or something similar.
- Sealable plastic bags, such as sandwich bags.
- Permanent marker (don’t place any labels inside the sample bag they will disintegrate)
- Packing box or padded envelope and ability to post same day samples are taken
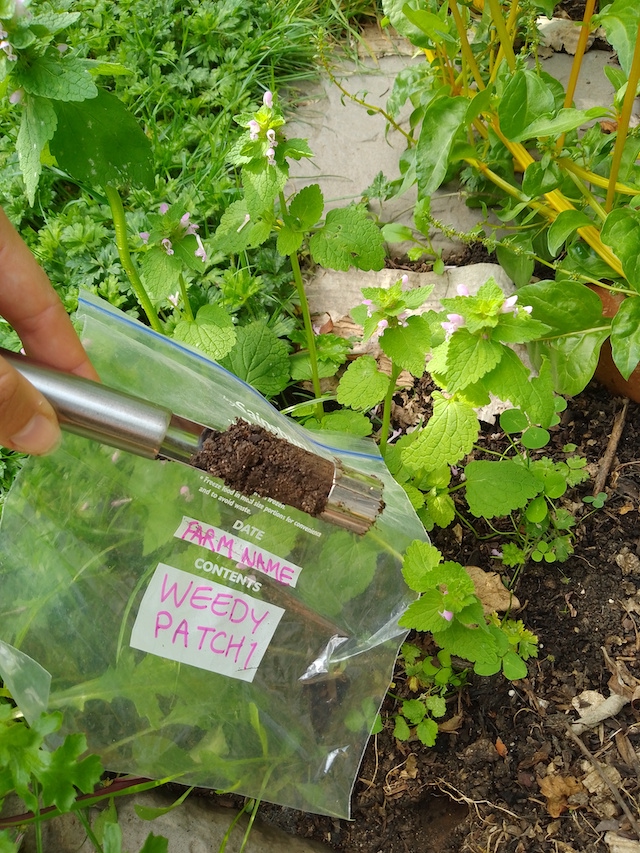
How to take a soil sample:
- Clear off surface organic material from sampling spot.
- Twist coring tool straight down about 7cm/ 3 inches deep halfway between the drip line and stem/trunk. The drip line is the edge of the canopy of the plant.
- Typically, at least 3 random cores are required for a representative sample for any given soil condition, you can take more but make sure you don’t fill the bag more than ⅓. Place all the cores from your chosen spot in the same bag.
- Leave the cores un-mixed until because mixing does cause some damage and changes the environmental conditions. It is important to leave them as undisturbed as possible until it is time to assess the sample. Seal bag with at least 50% air space.
- Make sure to clearly label the bag on the outside, including date, location, type of sample (soil, kind of plant sampled), the person who sampled, and any other information relevant to the sample. Use a permanent marker to prevent the label from being washed or rubbed off.
Collecting Compost Samples
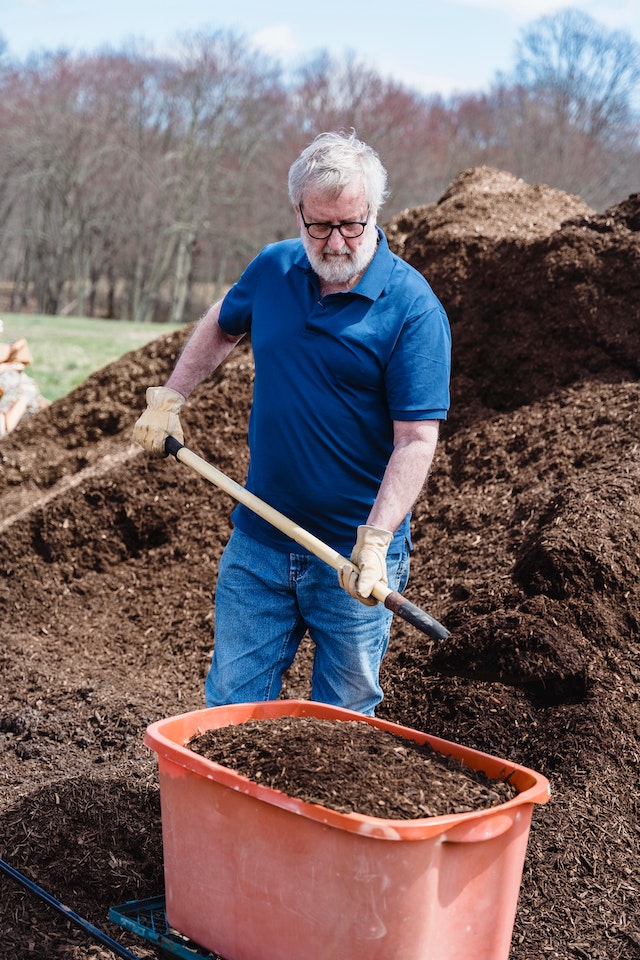
Collect samples with a teaspoon from a minimum of 5 different areas and depths in the compost pile avoiding any dry areas.
For windrows or larger compost pile sizes, collect a minimum of 20 teaspoon samples from different areas and depths.
Add all collected sample material to the same bag.
Clearly label the bag on the outside, including date, location, type of sample, the person who sampled, and any other relevant information. Use a permanent marker to prevent the label from being washed or rubbed off.
Do not fill the bag more than ⅓ full, and make sure to leave air inside before sealing it, so microorganisms have oxygen.
Post in packaging which will keep the sample protected and have it delivered within 1-3 days Monday-Friday.
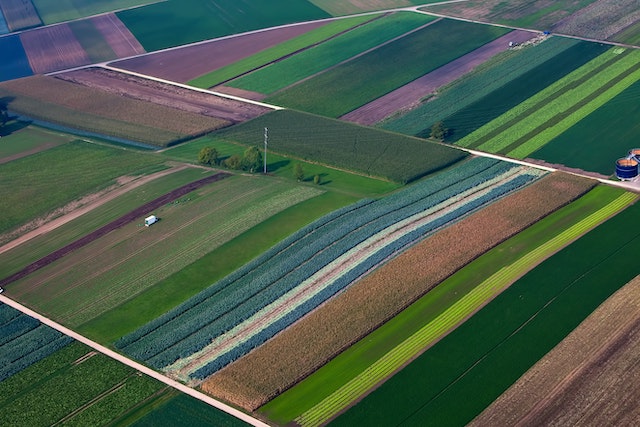
Collecting Soil Samples From A Large Field (3 Scenarios)
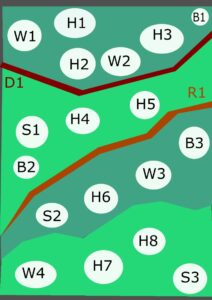
Scenario A: For Healthy Crops, Weedy Patches, Sick Plants, Bare Patches etc. in the same field
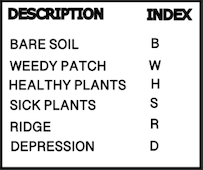
Draw a map of the land you are taking a sample from. Label the areas of Weedy Patches W1, W2 etc. Label the areas of Healthy Crops H1, H2 etc. Label the areas of Bare Soil B1, B2 etc. Label the areas of Sick Plants S1, S2 etc.
Go to the first weedy patch on your map and take 3 cores (approx 1 inch wide 3 inches deep) from the patch and place all three cores in the sealable plastic bag. Label the outside bag W1, date, farm name. Leave plenty of air inside and store it out of direct sunlight.
Repeat the step above, labeling the bag with the same information from your map until you have collected samples from around 40% of all the weedy patches you identified on your map.
From your map go to collect samples (3 cores in one bag from one specific area) from the other areas identified on your map (Bare soil, Healthy Patches, Sick Plants. You will need a representative of around 40% of each area with the bags labeled to match the areas drawn on your map.
To reduce the amount of sample material being posted you can get a sterilised container and gently mix all of the contents from the samples you collected from the weedy patches and gather a smaller amount from this to put in a bag no more than one third full with plenty of air left in the bag. Label the bag Weedy Patches. Repeat this process for the Bare Soil patches, Healthy Plants Patches and Sick Plants patches. These samples need to be kept separate. Comparing the results from each of these areas will offer you an insight into the overall state of the land we are working on.
Please post the samples together as soon as possible making sure everything is labeled correctly. You can send in a packing box or padded envelope making sure the samples won’t get squashed/ air pushed out of the bags. Post the sample Next Day Delivery to Soil Regeneration, 7 New Westwood, Westwood, Nottinghamshire NG16 5JD. Please let us know when you have posted the sample by sending a text (079 34004 670) or email to [email protected]
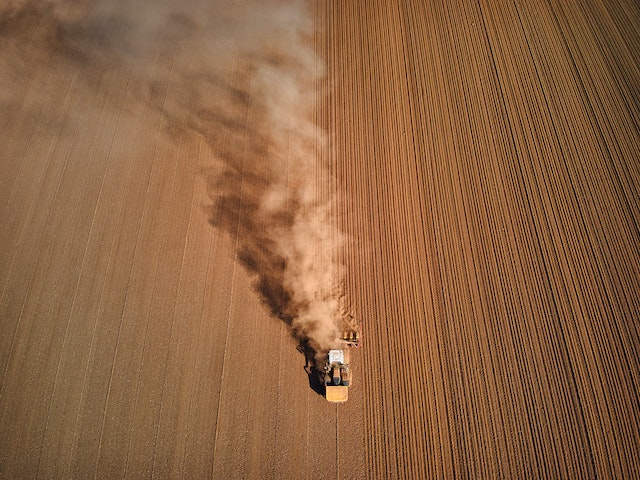
Scenario B: No plants growing, just bare soil (e.g. in a field that was recently tilled and not yet planted)
- If the soil is relatively uniform, a single set of three core samples may adequately represent a field, or three fields, because the soil conditions are very similar despite some differences in texture.
- Place all of these samples in the same bag making sure not to fill the bag more than ⅓ and leave 50% air in the bag.
- Label the bag Bare Soil. This will give you an insight into the general conditions across the field you are working on. You must repeat steps 1-3 for each individual field or paddock – using different sample bags for each.
- Send in the post with delivery between Monday – Friday and let us know you have sent it via email or text, with tracking number if applicable.
Scenario C: Varying conditions & features e.g. Ridges, depressions, etc….
- Study the landscape carefully and map-out the various prominent features.
- Take 5-6 samples from each of these areas and place them in separate bags.
- Label each bag and use the numbering system you have established so that you can mark these on your map.
liquid sample (tea or extract)
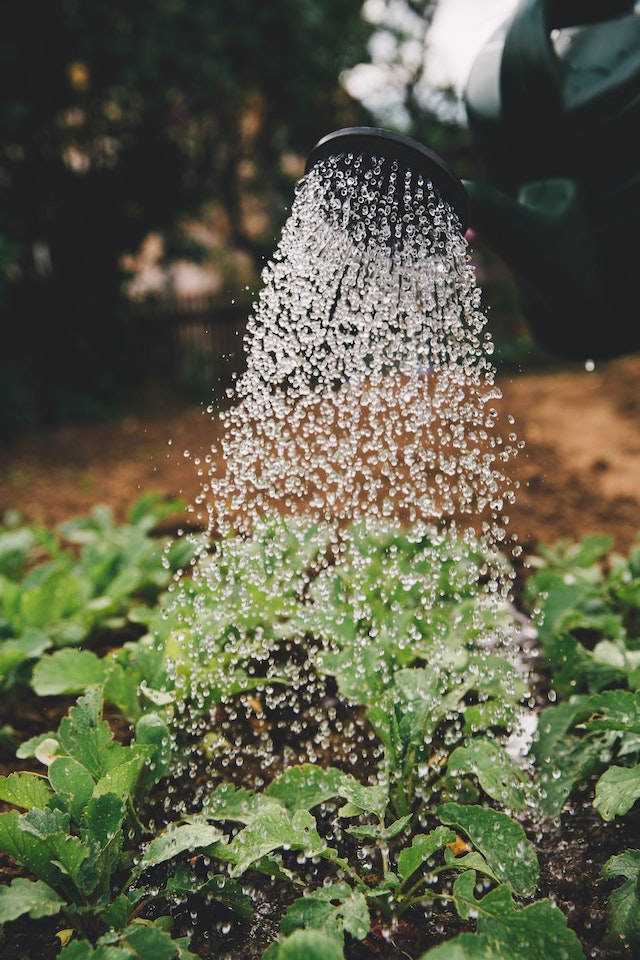
1. Avoid immersing your hand or arm into the liquid for liquid samples to prevent contamination. For extracts or teas, take the samples from the top 1-2” (2.5-5 cm) while being aerated. Take about 10 mL each time, placing the liquid in a clean container. Wait 10-15 seconds and take more liquid, putting it in the same container as the first subsample. Repeat a total of 3 times. The combined liquid is your sample.
2. Don’t fill your container more than one-third full to allow enough oxygen exchange
3. Once the screw cap is tightly sealed, label the outside with sample ID and date.
4. Send it overnight or same-day delivery as microbial life in liquids can change rapidly so needs to be assessed urgently.
F.A.Q.
Here are some of our frequently asked questions.
Please post Next Day Delivery (Mon-Fri) to Soil Regeneration, 7 New Westwood, Westwood NG16 5JD
Cost of analysis per sample (one bag is one sample) is £55. We offer a discount for multiple samples, two samples is £100, three samples is £145, four samples is £180.
On your Soil Biology report you will receive the following:
Fungal to Bacterial biomass ratio.
List of all beneficial microbes found and number per gram of soil (Flaggellates, Actinobacteria, Amoebae, Bacterial-feeding Nematodes, Fungal-feeding Nematodes, Predatory Nematodes)
List of all detrimental microbes found and number per gram of soil (Oomycetes, Cilliates, Root Feeding Nematodes)
The interactions of the organisms in the soil food web are the source of what we call soil functions which is like the soils immune system. These functions are vitally important. A healthy, well functioning soil generates fertility, manages water quality and availability, suppresses diseases and pests, fosters biodiversity, and sequesters carbon.
Yes, you can contact oldtreesoil.org who are experts in creating biologically complete compost based in Lewes near Brighton.
The Carbon Farm’s Glyn Mitchell is based in Jersey and doing a lot of research into carbon sequestration, creating biologically complete compost and regenerating land in Jersey.
Daniel Tyrkiel of Soil Ecology Lab is completing the SFW consultancy course and running trials on 5-10Ha of land.

